My wife has always wanted a water feature in the the garden. When we did the major landscaping works in 2013 we put a couple of old round resin sinks into the planted gravel area to be used as sumps, and although I've played around with a few ideas over the years these sumps are just too small to be effective for water features and fountains - they're very shallow and tend to empty quickly due to water loss from splashing and also the wind carrying the water outside the bowl area.
 |
| the two sumps installed in position many moons ago.... |
Six years ago, we bought an old cast iron hand pump in an eBay auction with the intention of using it as the basis of a water feature.
 |
| pump stripped for cleaning.... |
I totally stripped the pump, including disassembling the plunger and seal head down to its component parts - they all came apart surprisingly easily considering everything's made from bare iron and steel. A good clean with a wire brush, Copaslip on all the thread joints, new bolts for the flange and head, and then re-assembly followed by a coat of grey primer.
 |
| re-assembled with new bolts, and a coat of primer..... |
As part of the idea I had for the water feature, I needed something from which to make a waterwheel to be powered from the pump spout outfall. So I bought an old kids' bike with 12" wheels for the princely sum of £2 from the local car-boot sale.
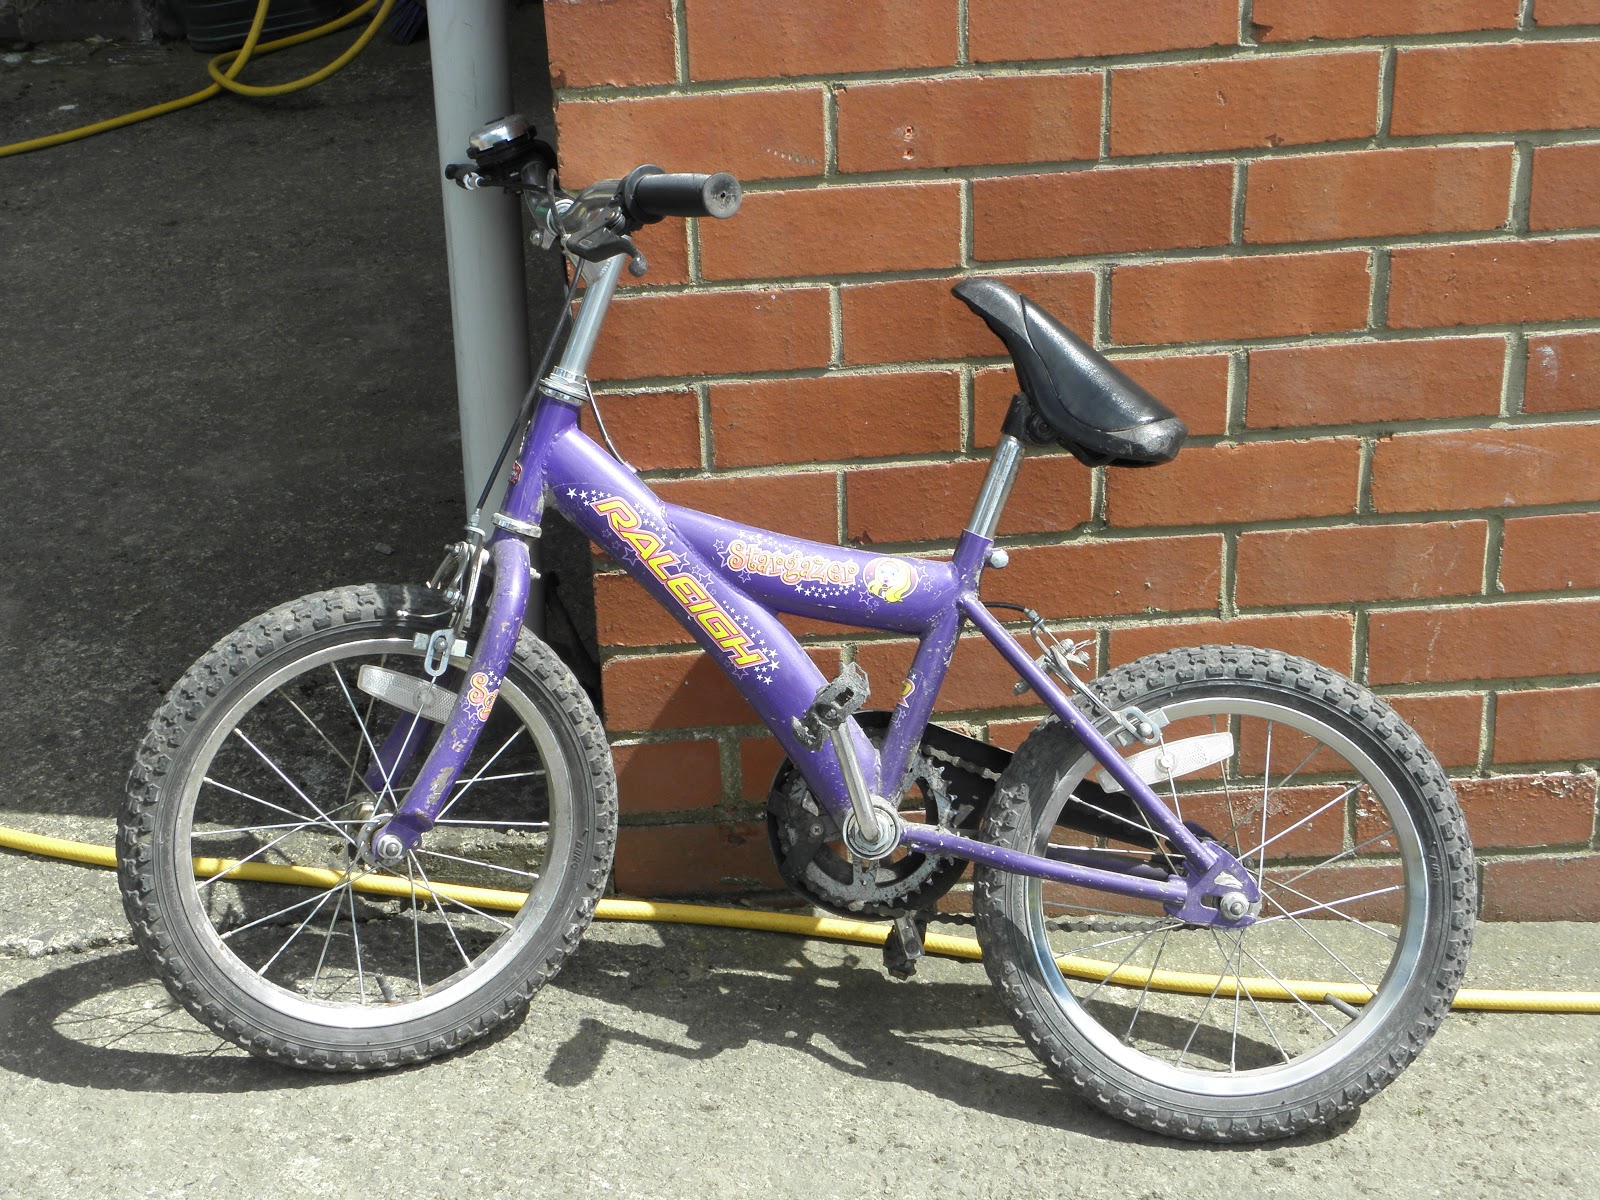 |
| the bike - I think it's a very good little machine for just two quid ! |
I used the front wheel for the water feature. I measured it up and drew both the wheel and pump to scale in AutoCAD. I then set about searching on eBay for something cheap and proprietary we could use as water buckets for the wheel.
I wanted buckets rather than simple flat paddles or spoons, because I reckoned the buckets would work better and also minimise splashing to the sides - paddles could throw water outside of the sump catchment area.
What I managed to find were small stainless steel sauce pots, 55 mm diameter at the top and 40 mm deep, perfect miniature bucket profiles in a corrosion-resistant material. After adding them to the drawing to make sure they would all fit OK, I ordered a batch of these sauce pots and drilled fixing holes in the wheel rim at each location midway between the twenty spoke connections.
I cleaned-up the wheel rim, hub and spokes with emery cloth to roughen what was left of the chromed surface before spraying it all over with black Hammerite. I thought that the self-colour of the stainless steel buckets would contrast well with the black wheel rim.
The buckets were attached by simply clamping into the wheel rim using a single M5 flanged buttonhead screw and nyloc nut for each - the internal profile of the rim lends itself very well to accurately locating a conical surface.
 |
| buckets fastened to wheel rim... |
I used M5 rubber sealing washers behind the screw heads, although they're not strictly necessary since the residence time of the water in the bucket is so short that any minor leaks wouldn't be a problem.
All of the above works were carried out in 2013, but for the rest of the post we're back in the present.
We recently decided to resurrect the waterwheel idea and install it within the summerhouse, so I bought a rectangular planter of size 800x280x280 made in a thin fibre-reinforced concrete material.
This planter came with two 25 mm drainage holes pre-cast in the base so the first job was to make it watertight for use as a sump. I cut 50 mm square patches from 3 mm thick steel plate and stuck them over the holes from the inside, using an industrial epoxy repair putty similar to Devcon - I'd bought a pack years ago and had never used any of it.
A few days later, after giving the epoxy time to fully cure, I painted the internal surfaces of the box with thick garage floor paint to act as a sealant should there be any porous areas in the thin concrete shell.
 |
| box with patches over the drainage holes, and a coat of paint |
I'd originally thought of fixing the pump and wheel by drilling the top edges of the planter box and spanning across the opening with metal angles, but in the end I came up with the idea of an integrated frame which carries both components, uses the top of the box for location and is simply lifted into position with no fixings required at all.
The frame was profiled from offcuts of fenceboards I had in the shed. The pump is bolted directly to the end section and the waterwheel is mounted from a pair of swinging arms made from aluminium angles, to allow the position of the wheel to be adjusted relative to the pump outlet. Everything was given several coats of garden furniture paint, left over from the front fence build last year. Although the fenceboards used for the frame have been pressure treated, it will be regularly soaked during waterwheel use and so an extra protective coating should help it last for a good few years.
 |
| support frame for pump and wheel |
I stripped and cleaned the pump again, removed the non-return valve and passed a length of 8 mm bore silicone hose up through the body and into the discharge spout. The other end of this hose connects to the pump. The discharge end was retained in the pump spout by building up a stack of 10 mm thick rubber sealing strips I had left over from the greenhouse roof construction - re-fitting the pump upper cap squeezes the rubber and clamps everything in position.
Before assembling the water feature, the pump was re-painted using a zinc primer and a blue enamel top coat. I also used the same paint for around the top edges of the sump, because the red just didn't look right.
After sitting unused and outdoors for years, the waterwheel wasn't turning freely so I removed the spindle to thoroughly clean the bearings and their raceways with meths. Everything was re-packed with fresh grease and it now spins very smoothly.
To circulate the water, I bought a kit comprising a small solar panel with a back-up battery pack and a submersible pump.
 |
| solar panel on top of the summerhouse frame |
The kit was quite expensive, but the solar panel seems quite decent. It has a real glass pane over the cells and the back-up battery box is fitted to the back. There's a couple of 3.7 V lithium-ion cells in there, and when it gets dark the batteries take over driving the pump until they're exhausted. When daylight returns, the panel drives the pump again and also recharges the batteries.
The batteries are accessible by removing a few screws, so they can be replaced when required - type 18650 li-ion cells are used everywhere (they're probably within the battery pack on my laptop) and so they're readily available to buy.
After testing the panel, it was then just a five minute job to bolt the pump and wheel in position, and lift the assembled frame onto the sump box.
 |
| finished and working in the summerhouse |
The waterwheel has been spinning happily for a couple of days now, and with the light evenings and sunny weather we've been having the batteries have kept the pump going until after midnight.
The wheel spins quite quickly, at around 1 revolution per second or 60 rpm. The outer bucket tips sweep a diameter of 420 mm, and so they travel 4.75 km (around 3 miles) every hour - sorry, I can't help it, I'm an engineer ...
No comments:
Post a Comment